Adirondack chairs, with their classic slanted backs and wide armrests, have long been synonymous with relaxation, comfort, and outdoor leisure. Whether nestled by a roaring fire or perched overlooking a serene lake, these chairs invite you to unwind and savour the beauty of nature. But to keep them looking their best and charming as the day you brought them home, Adirondack chairs require a little TLC.
Here are some quick and simple Adirondack chair maintenance tips to clean and protect these timeless pieces of outdoor furniture, so they remain a centerpiece of tranquility for years to come.
Prep Up – Gather Your Tools
Before you dive into the cleaning ritual, set the stage for success:
1. Gather Supplies
Arm yourself with a bucket, mild soap, soft-bristle brush, water hose, lint-free cloths, sandpaper, and a water-repellent finish or paint (if needed).
2. Choose the Perfect Spot
Find a shaded, well-ventilated area to clean your chairs. This ensures the soap solution doesn’t dry out too quickly.
Let’s Get Started – Cleaning!
Now that we’re ready, bring out your Adirondack chairs and place them in an open, well-ventilated area, preferably on a tarp to protect the ground.
1. Initial Dusting
Begin by using a dry cloth or a soft-bristle brush to gently remove dust, dirt, and debris from the chair. A gentle brushing motion effectively removes dirt, leaves, or particles, without causing any damage.
2. Treat the Stains
Whether it’s grass stains from outdoor shenanigans or red wine mishaps from your dinner soirée, pre-treating stubborn stains with a cleaning solution is crucial when restoring your beloved chairs. Just spray the stained area generously and let it sit for several minutes before rinsing it down.
3. Soapy Solution
Prepare a mixture of mild soap and water. Dip your soft-bristle brush into the solution and scrub the chair thoroughly. Pay extra attention to crevices and corners. This will help break down grime and dirt effectively.
4. The Gentle Rinse
Now, it’s time to gently hose and rinse away the soap and dirt. Make sure to remove all soap residue to avoid staining.
5. Dry it Out
Since abrasive material can mar the chair’s surface, use lint-free cloth to pat dry the chairs. This ensures no moisture is left to encourage mold or mildew growth.
Restoration – Painting & Coating
If your Adirondack chairs have seen better days, don’t fret. A restoration spell can bring back their allure.
1. Paint Rejuvenation
When it comes to painted chairs, a vigilant inspection for any signs of peeling or chipped paint is the first step towards their revival. Take a moment to inspect their surfaces for any signs of peeling or chipped paint. Going a DIY route, equip yourself with fine-grit sandpaper and delicately smoothen away the imperfections. Then, apply a fresh, lustrous coat of paint to restore the chairs’ former charm.
2. Water-Repellent Coat
Unfinished wooden chairs possess a rustic charm that’s hard to resist, but their vulnerability to the elements can be a cause for concern. If your chairs have unfinished wood, consider applying a water-repellent coating. This safeguards your cherished chairs from the potential ravages of moisture and humidity.
Maintenance Measures
To safeguard your Adirondack chairs and ensure their lasting elegance, consider these protective measures:
1. Seasonal Shielding
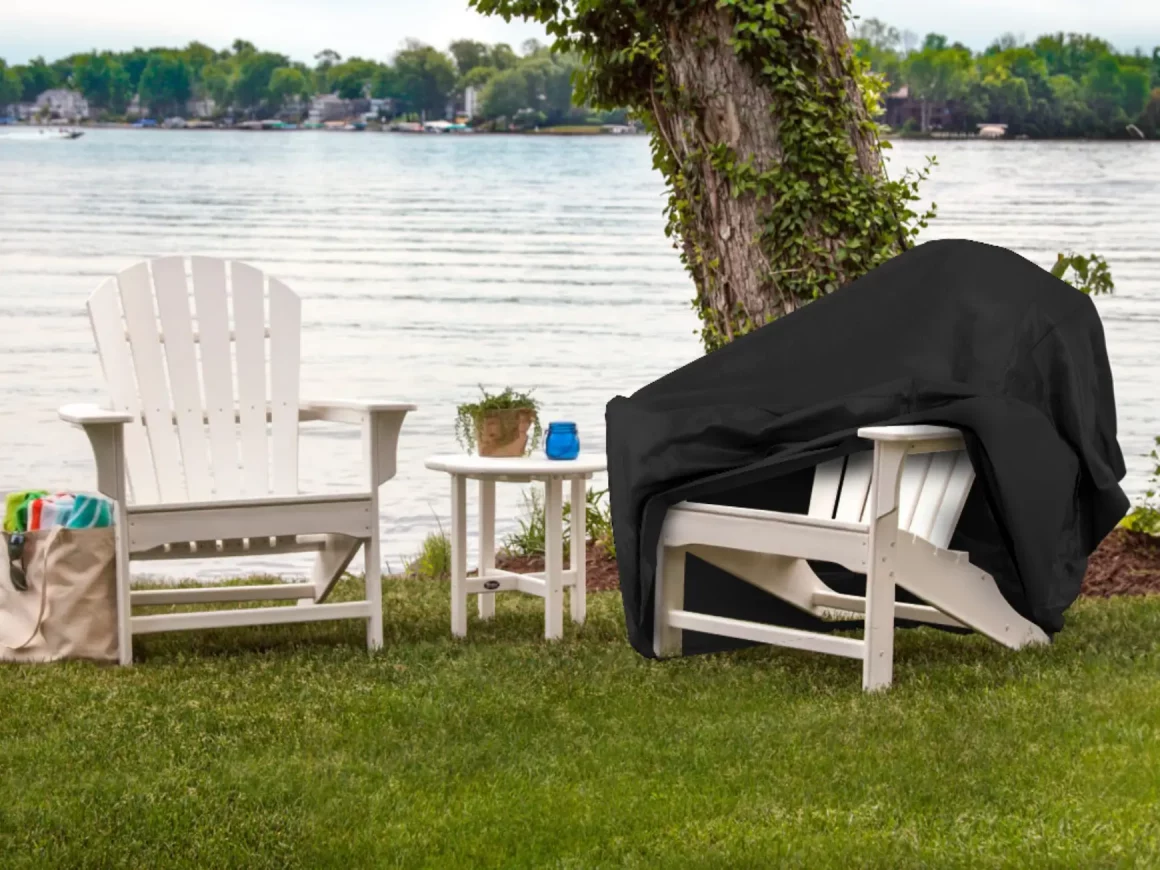
When not in use, don’t just leave your chair exposed to the whims of nature. Instead, adorn them with waterproof Adirondack chair covers. These protective Adirondack chair covers act as a sturdy barrier, shielding your chairs from the battering of rain, the weight of snow, and the relentless gaze of the sun.
The outdoor chair covers restrict the natural elements that might otherwise chip away the beauty and structural integrity of your beloved furniture, while keeping your chairs inviting and visually appealing whenever you return to relax and unwind.
2. Wax and Shine
As seasons shift and weather takes its toll, the painted surfaces of your chairs can face challenges from rain, sunlight, and even dust. A gentle application of wax and a dedicated moment of buffing can help bring back their luxurious gleam. Wax not only adds an effective protective barrier that shields against moisture, UV rays, and the gradual accumulation of grime, but enhances its aesthetics and longevity.
3. Routine Inspections
Whether your chairs are crafted from wood, metal, or any other material, they are exposed to the elements and the wear and tear of time. Regular inspections help grant them an extended lease on life. For wooden chairs, keep an eye out for signs of weathering such as splintering, fading, or cracking. Observe every nook and cranny.
Metal chairs might succumb to rust, compromising both appearance and structural integrity. Every material has its vulnerabilities – woven patterns could loosen, cushions might fray. Early detection of such issues makes you address these concerns promptly and helps you avoid major repairs down the line. So, whether it’s weekly, monthly, or seasonal, make inspection your regular ritual!
4. Bring them Indoors
As the weather turns worse, bringing your Adirondack chairs indoors or under a sheltered area can make a world of difference in their longevity and aesthetics. Be it heavy rain, blustery winds, or the onslaught of snow – adverse weather elements can gradually wear down the innate beauty and charm of your cherished possession. By ushering them indoors, you effectively extend their life. Invest in the best Adirondack chair covers to further add to their durability.
Deck it Up – Revamp & Redesign
Now that your Adirondack chairs are refreshed, protected, and ready to charm, it’s time to revel in the beauty they bring to your outdoor sanctuary. But before you immerse yourself in a captivating book while sipping a refreshing beverage seated in the chair, let’s revamp the space around and turn it into a relaxing oasis.
1. Positioning
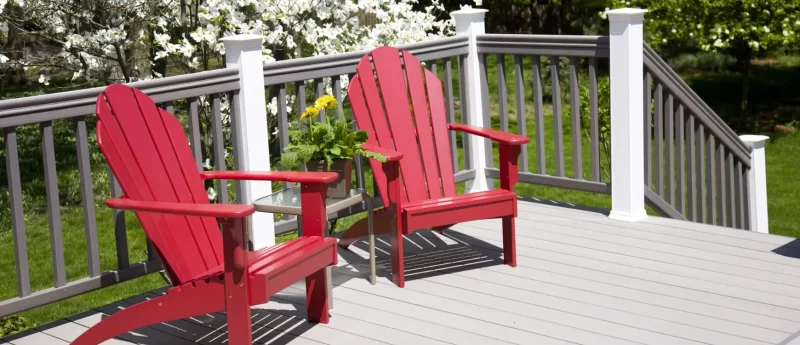
Place the Adirondack chairs in a spot that offers a beautiful view, whether it’s overlooking a garden, a lake, or a cosy fire pit. Consider arranging them in a semi-circle to encourage conversation and connection.
2. Add in Natural Elements
Add potted plants, flower beds, or hanging baskets nearby to enhance the outdoor ambiance. Choose plants that match the local climate for easy maintenance.
3. Unfold Outdoor Rugs
Define the seating area with an outdoor rug. This adds colour and texture while providing a cosy space for bare feet.
4. Include Side Tables
Including small side tables next to the chairs makes drinks, books, or snacks handy. These tables not only serve a functional purpose but also enhance the aesthetic appeal. Remember to use outdoor table covers and sofa covers to avoid any accidental spillage.
5. Throw Some Cushions and Pillows
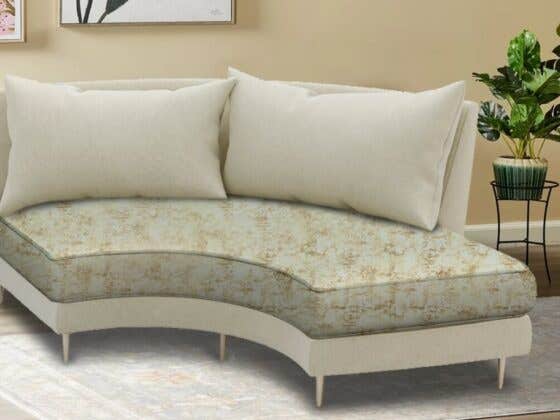
Incorporate cushions and throw pillows that match your outdoor colour palette. These not only provide comfort but also add a touch of cosiness and style. Enhance their longevity and style by covering them with custom covers in matching or contrasting hues.
6. Hang Lights
Introduce lighting options such as string lights, lanterns, or solar-powered pathway lights. This creates a warm ambiance for evenings and nights.
7. Consider Shade Solutions
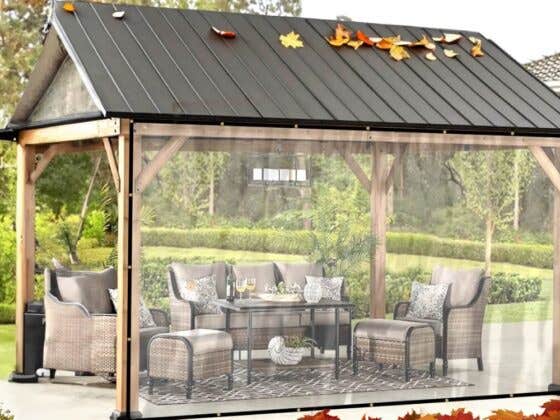
For seating areas that aren’t naturally shaded, consider adding an umbrella or pergola to provide relief from the sun. This makes the space comfortable during hot days. You can also use UV resistant garden furniture covers or large Adirondack chair covers to protect them from UV damage and fading.
8. Bring Decorative Accents
Incorporate decorative elements like wind chimes, outdoor artwork, or a bird feeder to add character and interest.
Remember, the key is to create a space that reflects your style while being functional and inviting. Play with colours, textures, and elements that resonate with your outdoor oasis, making it a place where you can unwind, connect, and appreciate the beauty of your surroundings from the comfort of your Adirondack chairs.













Recent Comments