Halloween is here, and it’s the season to immerse ourselves in the festivities and give the world a good spook. Whether you’re dressing up in frightening costumes, throwing spooky parties, or adorning your home with glowing Jack-O’-Lanterns, it’s all part of the quintessential Halloween fun. The tradition of carving pumpkins with eerie faces has its origins in the ancient Celtic festival of Samhain. This practice originally involved carving turnips, beets, and potatoes.
According to Irish folklore, these vegetables were hollowed out, sculpted, and lit to ward off Jack, the wandering malevolent spirit on All-Hallows’-Eve, the night before All-Hallows Day (All-Saints’ Day). Eventually, pumpkins replaced turnips and potatoes when Irish immigrants brought the tradition to America, choosing pumpkins due to their widespread availability.
Because carving intricate designs on large, round, orange gourds was both easier and more enjoyable, this practice quickly gained popularity in Britain as well. Since then, these illuminated pumpkins have become an essential part of Halloween decorations. While the idea of carving a pumpkin may seem straightforward, the actual process can be a bit challenging. So, here are some simple steps you can follow to improve your pumpkin carving skills.
1. Choosing the Perfect Pumpkin
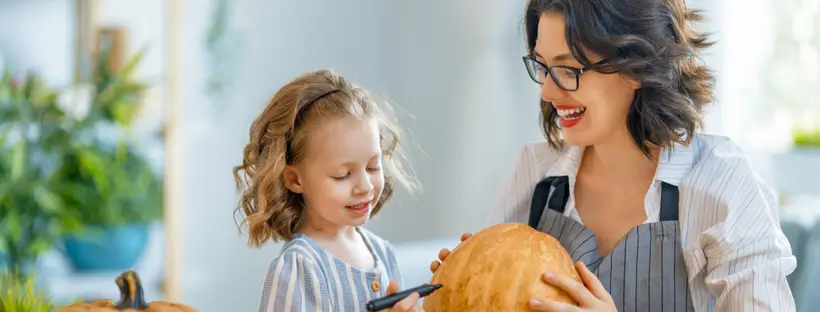
Before you start your pumpkin-carving masterpiece, it’s important to select the right pumpkin. Opt for a medium-sized, round squash with smooth skin and minimal ridges as it’s easier to work with. While small, round pumpkins may look cute, they can be more challenging to carve. To create a beautiful jack-o’-lantern, it’s essential to pick a fresh pumpkin in its prime. Look for one that feels solid when you touch it and has a strong, sturdy green stem.
To ensure freshness, give it a gentle shake to listen for liquid inside and even take a sniff to check for a fresh aroma. Once you bring it home from the patch, protect it from direct sunlight to maintain its quality.
Avoid pumpkins with blemishes, soft spots, or signs of bugs. Light-skinned pumpkins are preferable, as those with dark skin can be tougher to carve. Lastly, steer clear of pumpkins sold for cooking, as they tend to be fleshy with a small cavity, making them more challenging to sculpt.
2. Get Your Tools and Supplies Ready
Carving becomes a breeze when you have the proper tools and supplies within reach. For scooping and scraping the pumpkin’s insides, you can choose from knives, spoons, ladles, ice cream scoops, or even melon ballers. To draw or trace your design onto the pumpkin, it’s helpful to have a permanent marker, tracing paper, clear tape, a pin or pinpricks, and a fillet knife on hand. If you want to tackle intricate designs, consider using a Jack-O-Lantern carving kit, which typically includes scoops and serrated saws.
3. Prepare Your Workspace
Before you dive into your pumpkin carving adventure, it’s essential to find the perfect space where you can get a little messy. Carving pumpkins can involve dealing with the gooey insides, so it’s best to work outdoors. Set up your workspace on your porch or patio, and you can even use an outdoor cart or a center table near your sofa, adding a touch of outdoor lifestyle decor.
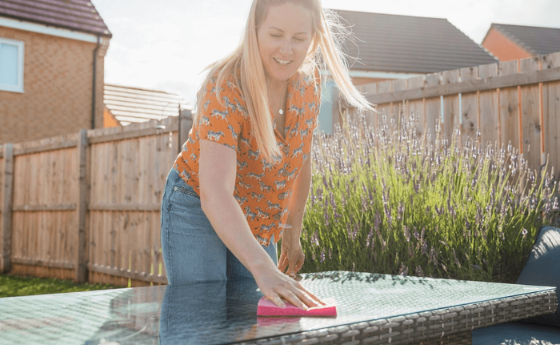
To protect your work area from the mess, start by laying down custom tarpaulins on the patio. Then, cover your table with waterproof table covers to create a clean and comfortable surface for your artistic pumpkin carving.
4. Use Sharp Tools Safely
Pumpkin carving involves handling sharp tools, and using regular kitchen knives can sometimes lead to accidents. Some people might sustain minor injuries, while others could end up needing serious hand surgery. To ensure that this fun activity stays fun and safe, it’s highly advisable to use carving kits that come with tools designed for this purpose.
Since moisture can make your hands, the pumpkin, or the knife slippery, it’s a good idea to have a hand towel nearby. If you do use a kitchen knife, remember to cut away from your hand, not towards it. Start by making small, controlled cuts to maintain better control and reduce the risk of accidents.
5. Prepare Your Pumpkin Canvas
Now that you have your tools, let’s get creative. Instead of cutting off the top, make a square or diamond-shaped opening at the back of the pumpkin. Scoop out the insides thoroughly using an ice cream scoop and scrape the walls with a scraper. Keep the walls around 3/4 of an inch thick for a better glow and longer-lasting jack-o’-lantern.
Once your pumpkin is hollow, choose the best surface for your carving. Look for the smoother, softer side without scratches, bruises, or dark spots – it’s the ideal canvas for your scary faces.
6. Create Your Spooky Design
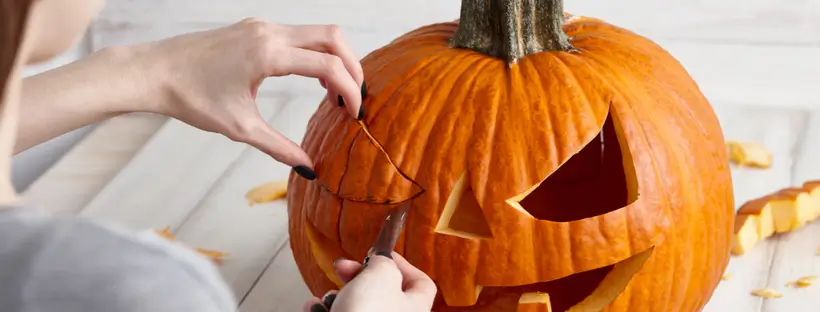
Before you begin carving, plan your design carefully. If drawing isn’t your strong suit, consider using a stencil. You can find plenty of spooky patterns online for inspiration. Simply attach the print-out to your pumpkin and use a needle or pin to trace the design onto the squash. Alternatively, you can use transfer paper to outline the pattern directly.
Once your monstrous grins are perfectly outlined, it’s time to use the fillet knife to start carving. Be gentle as you cut through the holes, and keep your hands steady to create a flawless work of art.
7. Refine Your Jack-O’-Lantern
Carving takes patience and skill. Once you’ve transferred your design to the pumpkin, refining the details can be tricky as the pumpkin becomes delicate. Carefully use a knife to smooth out any uneven edges around the cut-outs. If any pieces of your pattern break or fall off during the process, don’t worry. You can easily fix them with toothpicks.
8. Prolong Your Jack-O’-Lantern’s Life
Carved pumpkins are great for Halloween, but they can wither quickly. To make them last longer, prevent dehydration, moisture, and mold (common causes of rot). Keep them out of direct sunlight, shield them from bad weather with tarpaulins, and store them in the fridge. Apply petroleum jelly inside and outside to seal in moisture and prevent decay. For added preservation, use hairspray or a bleach-containing bathroom cleaner to slow down the rotting process.
9. Make Delicious Treats with Pumpkin Leftovers
Don’t toss out the pumpkin guts, seeds, and stringy bits. They’re nutritionally rich and can be used for tasty, healthy snacks and desserts. Rinse and roast the seeds in coconut oil, then season them with salt and spices for a delicious snack.
For the flesh, roast and soften it to create a puree for cakes, ice cream, risotto, bread, pies, soups, and other Halloween recipes. Get creative with the pumpkin skin too. Bake or dehydrate the peels to make chips, add a pinch of salt, and enjoy them with a tasty dip. You can also make delightful candies by dusting dried pumpkin skin with cinnamon and sugar.
10. Illuminate Your Jack-O’-Lanterns with Candles or LEDs
Add a spooky glow to your Jack-O’-Lanterns to bring your carvings to life. Display them in highly visible spots like your patio or porch to give trick-or-treaters a fright. Place votive candles or tea lights inside, ensuring they sit on a flat, stable surface. You can also opt for safer, candle-free options like color-changing strobe lights, battery-operated tea lights, or rainbow LEDs that won’t heat up the pumpkin.
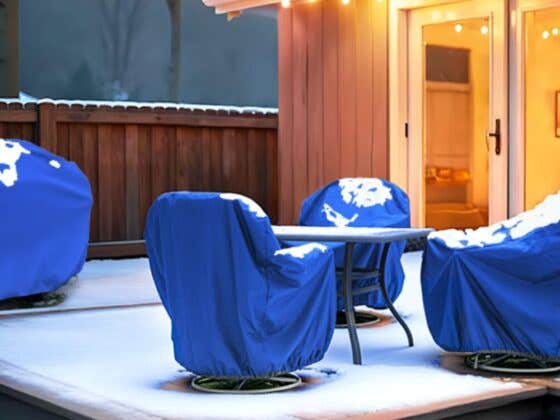
Besides decorating your front porch, create a Halloween atmosphere inside with scary lanterns, hanging skeletons, fake bloodstains, and custom tarpaulins personalized with eerie graphics. Before all this, safeguard your home, furniture, and electronic devices with custom tarpaulins, outdoor lifestyle covers, TV covers, and insulated covers to ensure comprehensive protection during the Halloween festivities.









Recent Comments